New Youtube Channel

Now that my home's internet speed is upgraded, I can make more videos!
This is my new channel https://www.youtube.com/channel/UCgW4rIH3Gg6Lc8v4G0QlqgA
Please subscribe!

Saturday, October 16, 2010

Blueberry and Nectarine Cake


I fell in love with the cake the moment I saw it on Piggy's blog.
It looked so so pretty.

Then I saw Elin doing this as well with peaches and blueberries. That time I already have nectarine and blueberries (bought weeks ago) in the fridge. I shouldn't wait any longer. Actually, somehow I've forgotten about this cake, until I saw it on Elin's blog.


I used China nectarines, which are a lot cheaper. This cake is very nice to eat, moist and soft.


Nectarine and Blueberry Cake Recipe
Recipe source : Piggy's Cooking Journal who adapted from 手のひらサイズのベイクドケーキ

Ingredients:
144g butter, at room temperature
100g castor sugar
2 egg
1 teaspoon vanilla extract
144g self-raising flour
1/4 teaspoon baking powder (I skipped this)
2 tablespoon yogurt
2 nectarines, cut into slices (mine was rather smallish)
40 blueberries (surprisingly, I really did throw in 20 blueberries per pan without counting initially, cos that is all that could fit the sides nicely)

Method:
1) Preheat oven to 170 deg C. Grease a 18cm loaf pan, and then line with baking paper.
2) In a medium bowl, whip butter and sugar with an electric mixer until pale and fluffy. Beat the egg into the batter, follow by vanilla extract. Mix until just combine.
3) Mix in yogurt, follow by flour and baking powder. Mix until the flour just disappear from the batter.
4) Scrape the batter into the pan. Arrange nectarine slices and blueberries on the batter.
5) Bake in the pre-heated oven for 40 minutes, or until a skewer inserted in the center of the cake turns out clean. Remove from oven, let the cakes cool on wire rack, serve.


Friday, October 15, 2010

Cheese Scallion Pillow Wallets


I saw these at Precious Moments one night just before I slept, and straight away made this the next morning for brunch.

The recipe called for the eggs to be beaten like making a sponge, and filled with cheese. How can I resist this??? It’s like an omelette, but a fluffy one. A sponge cake on a pan. How about that? Good right?

Then I remembered Anna Olsen doing waffles with green onions or scallions, yeah.. I can add that to replace my husband’s most hated cinnamon. And I used cheddar instead of cream cheese. So, the whole thing sort of turned savoury rather than something to be eaten with jam or syrup. It’s pretty good by itself.

I changed the beating method so that I can make it quickly for breakfast or actually brunch 
And I actually used a higher temperature to cook, I forgot to turn down the heat. That explains the ugly surface. So please be patient and use the lowest heat to do this.


Cheese Scallion Pillow Wallets
Recipe adapted from : Precious Moments who adapted from Cosy Bake

Makes 2 wallets

3 egg whites
30gm sugar (If you’re lazy to use the scale just use 2 or 3 Tbsp sugar)
3 egg yolks
30 gm flour (approximately 2 heaped Tbsp)
1 sprig green onion, thinly sliced
2 heaped tsp salted butter
2 slices of cheddar cheese (Kraft or Chesdale or whatever brand)

1. Beat egg whites and sugar until soft peaks (not too runny though), add in egg yolks and beat for another 30 seconds.
2. Sift in flour and fold to combine.
3. Fold in sliced green onions.
4. Heat a non stick pan on medium heat. Put in 1 heaped tsp butter and immediately turn to low. Let the butter melt.
5. Put in 2 ladles of batter, try to spread it around like a circle.
6. Cover pan with a lid (I used a pot lid), and let it cook until the rims look golden. It may take 5 minutes.
7. Break up a cheddar slice and put in on half of the “omelette”, best is 1 inch from the rim.
8. Flip the side of the ‘omelette’ that is without cheese and cover up the cheesed side like a wallet.
9. Bring the ‘omelette’ to the center and cover with lid and cook for about 1 minute and flip to the other side for another minute.
10. Repeat step (4) to (9) with remaining batter.


If you like to know my pan size, it’s a 9 inch pan.
Mike ate 1 wallet. My kids ate 2/3 of the other wallet and I only had 1/3!!!!! Sigh… it’s ok, I’ll have the chocolate cake for brunch then.


This is a real keeper. It’s very good and I’ll definitely make this again and again.

Thursday, October 14, 2010

Steamed Pork Slices with Bean Paste


Grandaunt used to make a lot of steamed dishes. Only steamed pork and she has loads and loads of recipes. This is one of them that I love to eat.

The gravy is very, very nice with rice.


Steamed Pork Slices with Bean Paste Recipe

200gm pork fillet or other soft meat (You may use chicken meat if prefered)
2 tsp hot bean paste (or substitute with 1 tsp finely chopped chilli and 1 ½ tsp regular brown bean paste)
1 tsp sugar
2 cloves garlic, finely chopped
1 tsp cornstarch
1 Tbsp water
1 Tbsp cooking oil

1. Thinly slice pork fillet.
2. Put bean paste, garlic, water and sugar onto pork and mix well.
3. Put in cornstarch and mix. Finally add in oil.
4. Let the pork marinate for at least half an hour before cooking.
5. Steam on high heat for 10-15 minutes. I prefer pork to be very well done, so I do it on 15.


Wednesday, October 13, 2010

Individual Banoffee Pies with Chocolate Biscuit Crust


I’ve seen HomeKreation doing banoffee pies. Her kids loved this to bits and oh my, I just got to try this banoffee pie some day.

But I was worried that the crust might go soggy, cos we don’t eat that fast!!! So, I came up with adding melted chocolate into the crust. It makes it slightly waterproof, and the crust is definitely sturdier with some chocolate in it. And dark chocolate is a good contrast to the sweet dulce de leche.

And I chose to use Cavendish bananas, as they don’t brown that easily compared to local varieties. If you do not know what is Cavendish bananas, just head to your nearest hypermart and find Dole or Del Monte bananas. Cavendish is the variety and Dole and Del Monte are the brands. It’s just like Navel or Valencia oranges that comes with the brand Sunkist or whatever name. Cavendish to bananas is the equivalent of Navel and Valencia is to oranges. Well, if you can’t find Cavendish bananas, try tossing your sliced bananas in lemon juice to prevent them from browning, but I don’t want the tang of lemon to be in my pie. Do what you think is suitable for you.


Mini Banoffee Pies with Chocolate Biscuit Crust Recipe
Recipe source : Wendyywy
Inspired by: Home Kreation

80gm butter
80gm dark chocolate
160gm digestive biscuits or graham crackers, pulverized
4 large Cavendish bananas, sliced
½ cup Dulce de Leche, more or less
Some cocoa powder for dusting


300gm whipping cream + 2 Tbsp sugar
1/2 tsp gelatin
1 Tbsp water

1. Melt butter and dark chocolate together. Stir in pulverized biscuits. Press firmly into small tart tins. Freeze for 30 minutes or more. Pie crust is ready when it falls out from the tin when overturned (you might need to pry it slightly with a toothpick, but it should fall out with the slightest prying). Remove all crust from tins. Keep them chilled before use.
2. While waiting for the crust to firm up, sprinkle gelatin over water and let it sit for 5 minutes. Zap in microwave on high for 20 secs or melt it over a pan of hot water. Leave to cool. Freeze your mixing bowl now.
3. When crusts are ready, spread 2/3 tsp of Dulce de Leche into pie crust. You can put more if you like it sweeter
4. Slice bananas thinly and arrange in crust. Place pies back into fridge.
5. Remove mixing bowl from freezer or put your bowl in a basin of ice water and whip the cream and sugar until soft peaks. With the mixer on, carefully drizzle in the gelatin mixture and whip until stiff.
6. Pipe or spoon cream over bananas and dust with cocoa powder.
7. Keep chilled until time of serving, but not more than 12 hours, just in case the crust turns soggy (I've never kept these for than 4 hours, all gobbled up, so I don't really know).


As usual, I share my bakes with my neighbours. Hehe, neighbor Maria shared the pie with her co workers and after eating only 1 quarter of this mini pie, asked me, “How much do you charge if I want to order this?” That shows it’s really good.

Here's what I made for Maria. A big banoffee pie, since it's cheaper than small ones. Small ones more work hence, higher cost :)


One last pic :)


Tuesday, October 12, 2010

Steamed Flower Bowl Tofu


I saw this type of steamed dish quite often on China's sites.There are many variations, some serve it with sharkfins, some in superior broth, and some with noodles. It is actually called "Steamed 3 Silk", or 扣三丝

After lining the base of the bowl with the "silk" They just stuffed extra  silk (egg, hams, mushrooms or whatver) into the bowl cavity to steam. Instead I used tofu as the filling. And I used egg as the tofu's binder.
Sigh, the egg might be a wrong decision, as you can see, the egg has covered up most of the "flower".

Anyway, I quite like this dish.


70gm ham
3 filament crab sticks
1 egg, fried into a thin ommelete
1 Chinese Black Mushroom, soaked
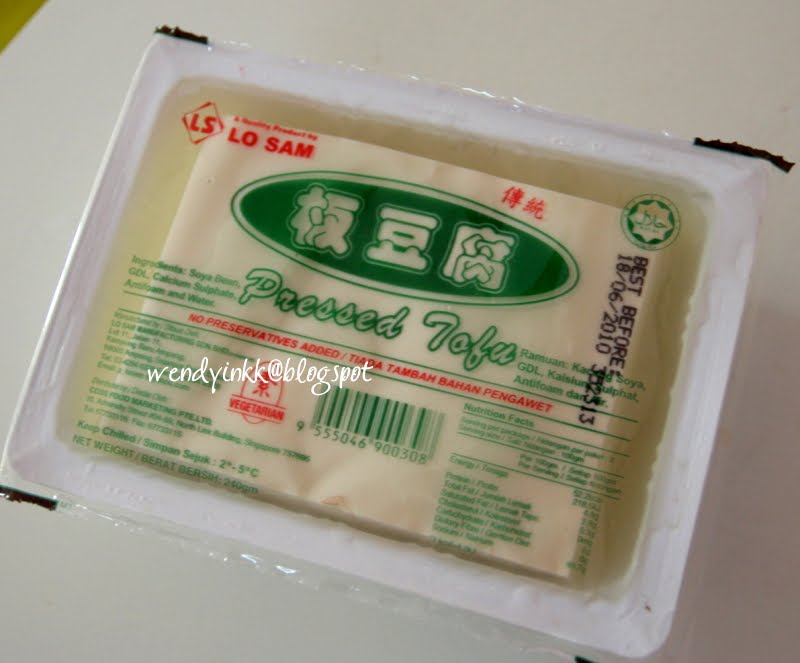
240gm pressed tofu (firm tofu)
1 egg
½ tsp salt
Dash of pepper

1. Cut ham, crab sticks and ommelette into long thin matchsticks
2. Line a heatproof bowl with heat proof cling wap.
3. Put mushroom on base of bowl, cap side down.
4. Arrange ham, crab stick and egg strips in bowl.
5. Mix tofu with egg, salt and pepper.
6. Pour tofu mixture into bowl and steam on high heat for 5 minutes and medium heat for 15 minutes.


Printfriendly

Related Posts Plugin for WordPress, Blogger...